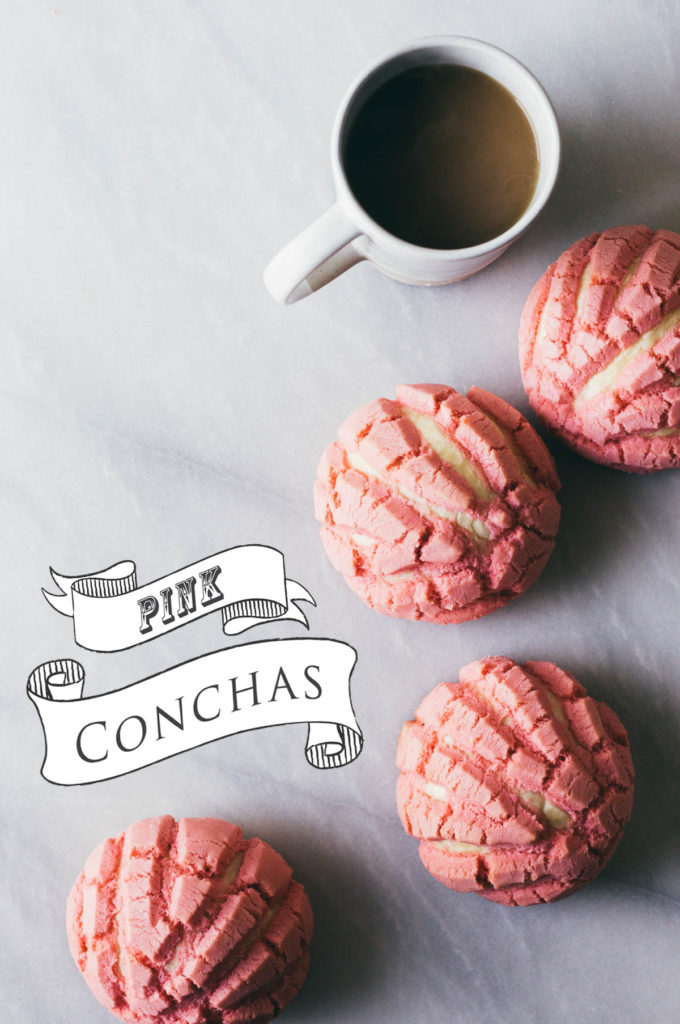
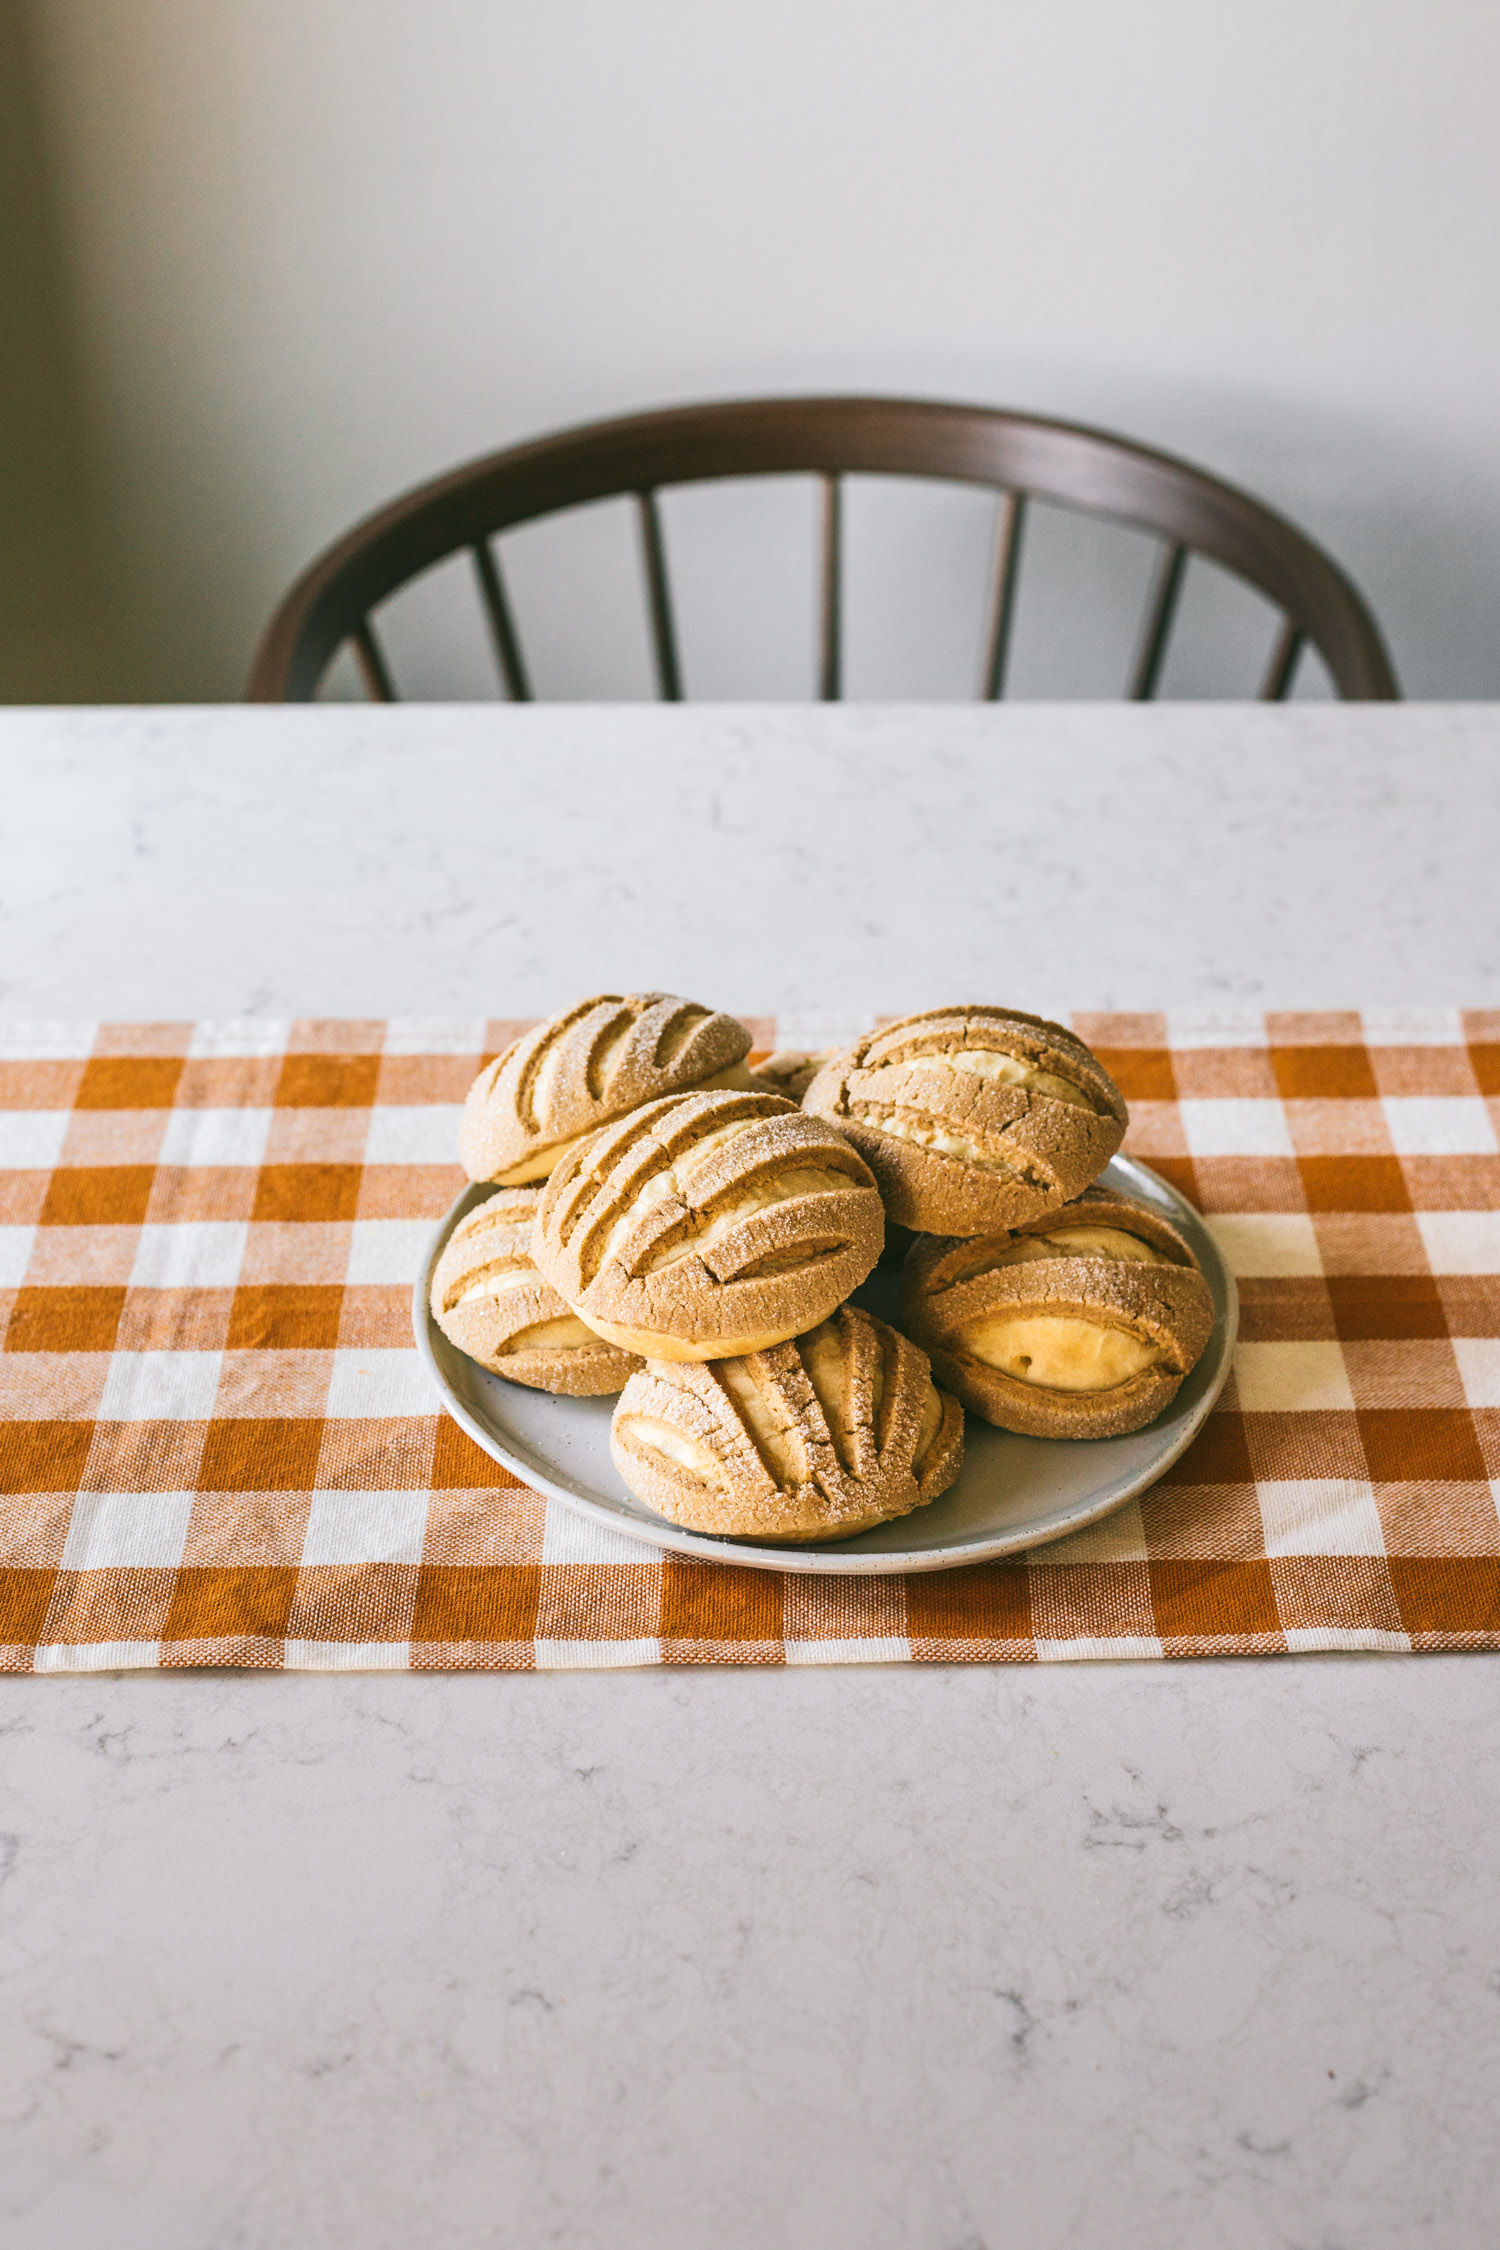
We are entering a new world of baked goods. Together, as we hold hands, we jump into an airy, yeasted Mexican sweet bread known as pan dulce. And today’s pan dulce is affectionately known as Conchas. Pink Conchas (Pan Dulce) to be exact. The fact that they are pink makes them taste better—thanks for asking.
I’ll be honest. I never thought I liked conchas. In my youth I would see these dried, crumbed, 3-day-old pastries stuffed in a plastic bag on the shelf of a Winco and swiftly stick my nose up at them. It wasn’t until I was in San Jose California, and dropped into an actual
As the story goes, I’ve searched for really good, fresh pan dulce like I’d found at the market in San Jose, and I’ve yet to find one. So, I guess it’s up to me now. It’s in my hands.
Here we go, ladies. I wanted to make the Concha… the king of all pan dulce. It’s a yeasted, airy, light dough that is topped with a shortbread-cookie-ish dough. Of course, there are many varieties like cinnamon, chocolate and well, yellow. But, whenever I find the ones that are pink, my heart sings.
The challenge was this: make a highly enriched dough that wouldn’t dry out as quickly as the pan dulce of my youth while still holding to the spirit of the concha. I needed to make this dough as flavorful as the cookie topping so that it could hold it’s own. I didn’t want the dough to be too light either, so I used a mix of bread flour and all-purpose flour to give a slightly more substantial hold. The result was a little denser concha that I’m not upset about. It’s buttery, eggy, and sweet.
The topping was easy. A fairly basic shortbread cookie—add baking soda for crumbly-ness. I tested this cookie out with all-purpose flour and bread flour and I saw no reasonable difference in texture. So, I stayed with the all-purpose flour since I have it coming out of my ears thanks to our monthly Costco trips. I also added a splash of almond extract along with vanilla because… that’s what I do! Feel free to leave it out. But also feel free to live your life and just do it.
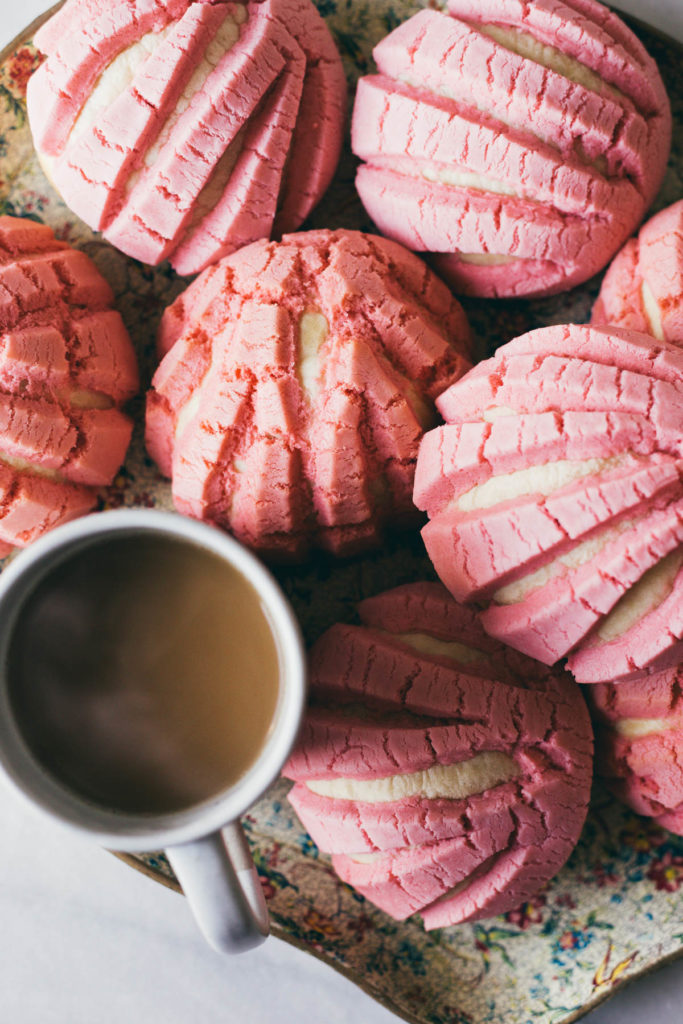
The oven is the hardest part. You want to bake them JUUUST until they are finished. So that means they’re innards register 190 degrees when poked with a thermometer. This takes about 18-20 minutes in a 375 degree oven. This is a highly enriched dough which means it can burn easily so keep watch. The payoff is unbeatable. A fluffy, almost creamy quality to the Concha.
Okay, friends, I’m done talking about the Concha. At least for now. Because, I am now obsessed and have to make all the pan dulce there is.
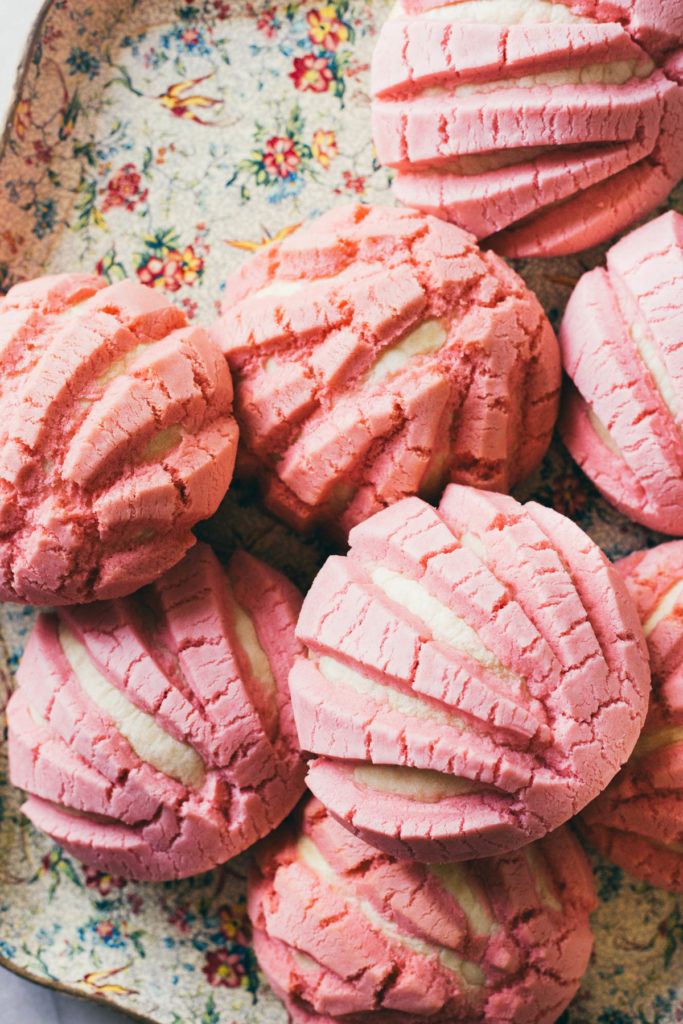
Pink Conchas Pan Dulce
- Prep Time: 2 hours
- Cook Time: 20 minutes
- Total Time: 2 hours 20 minutes
- Yield: 16 1x
Ingredients
|| Pan ||
1 cup Evaporated Milk
2 1/2 teaspoons active dry yeast
1/2 cup plus 2 tablespoons sugar, divided
4 eggs
1/2 cup butter, melted
2 cups bread flour
3 1/4 cups ap flour
1 teaspoon salt
|| Topping ||
1 1/2 cup butter, room temperature
1 1/2 cup powdered sugar
3 drops americolor food coloring in Dusty Rose
1 teaspoon almond extract
2 teaspoon vanilla extract
3 cups ap flour
1/2 teaspoon baking soda
pinch of salt
1 tablespoon half and half
Instructions
Warm the evaporated milk until it reaches 100-110 degrees and add in the yeast and 2 tablespoons of the sugar. Set aside until it starts to foam on the top, about 10 minutes.
In a large standing mixer, place in the eggs and sugar. Pour in the yeast mixture and whisk everything together. Slowly stream in the melted butter until well combined. Place a bread dough hook on the standing mixer and add in the bread flour, ap flour, and salt. Turn on to medium speed to knead for a few minutes or until the mixture comes together. The dough should pull away from the sides of the bowl but still stick to the bottom. If the dough isn’t pulling away from the sides, add ap flour one tablespoon at a time.
Continue to knead on medium speed for another 10 minutes. Remove the dough from the bowl and place into a clean, greased bowl turning over once to coat the dough. Cover with plastic wrap and let rise for an hour.
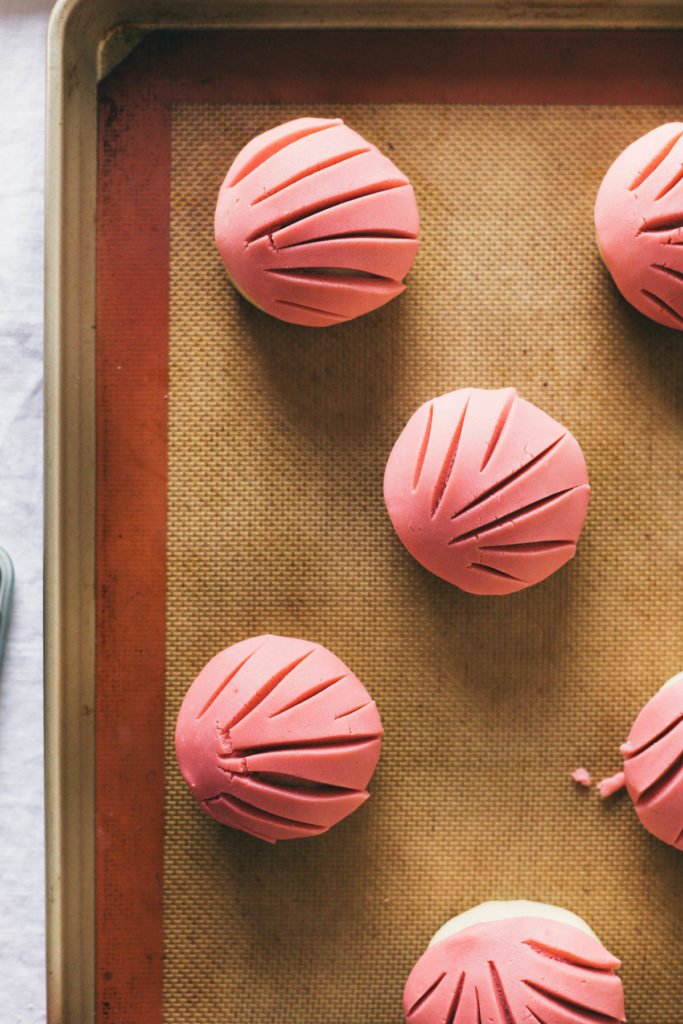
Take the dough, cut it in half and continue to cut all the pieces in half until you are left with 16 pieces of dough. Take each dough and wrap the sides around to the bottom center of the dough and continue to do that until a clean ball forms. Place on a lined cookie sheet and cover with a clean towel while you make the topping.
Preheat the oven to 375 degrees.
|| Topping ||
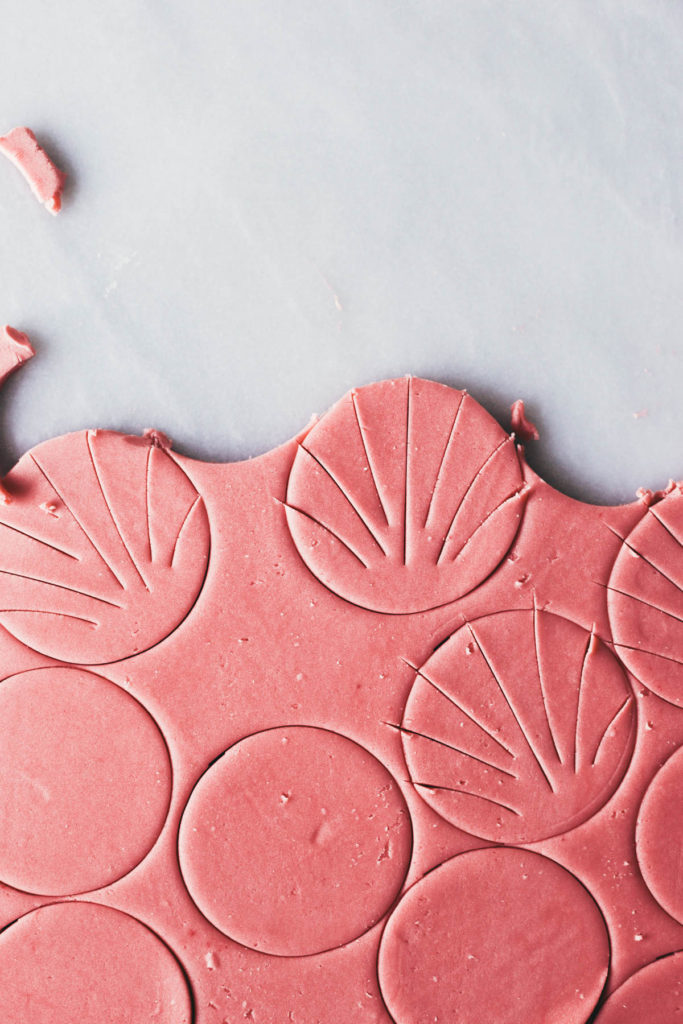
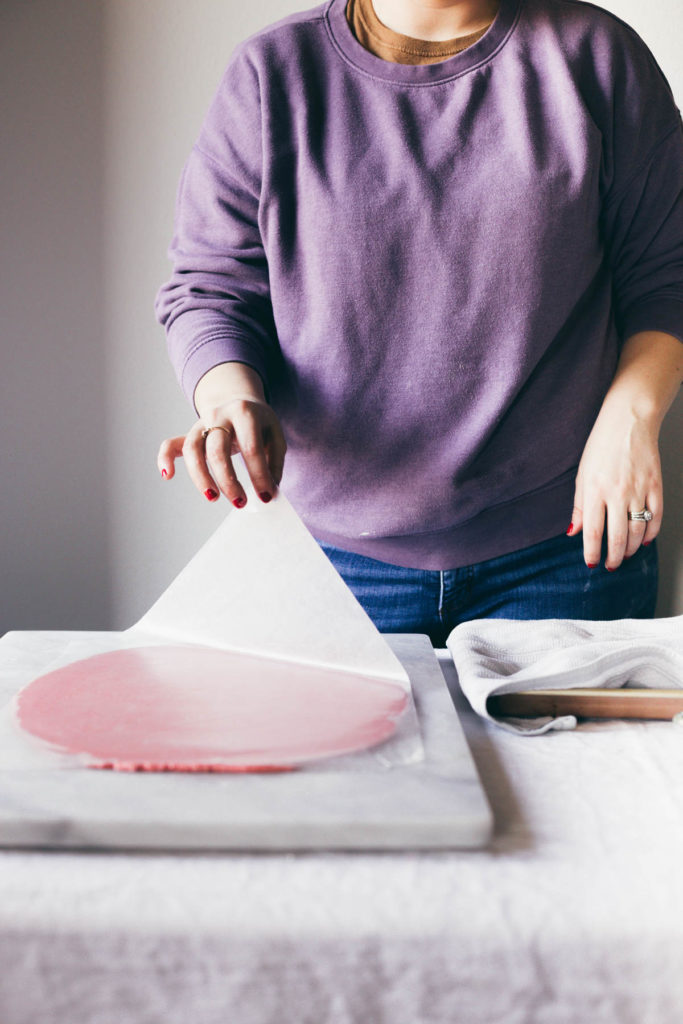
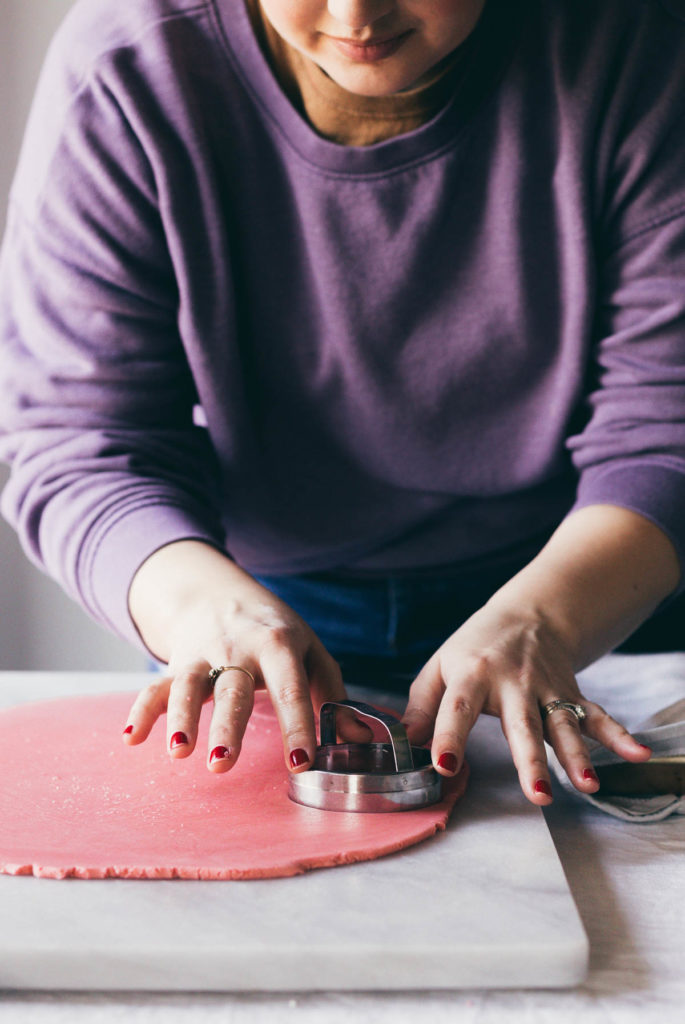
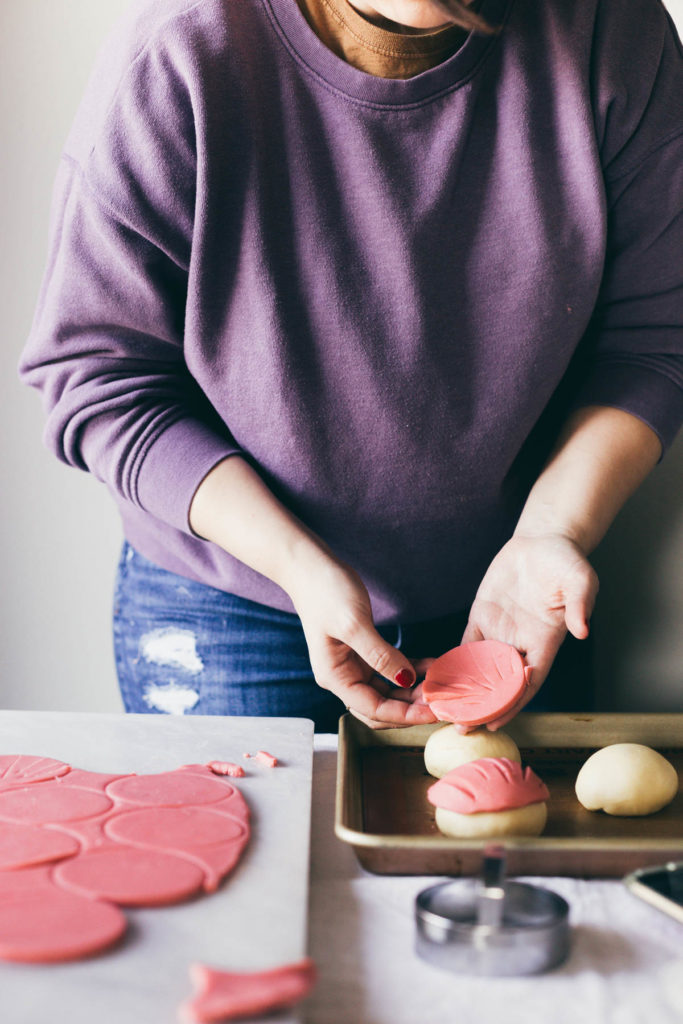
Cream the butter, powdered sugar, food coloring, almond extract, and vanilla extract together until creamy. About 1-2 minutes. Add in the flour, baking soda, and salt, and mix slowly until crumbly. Add in the half and half and mix vigorously until uniform. Turn out onto a clean work surface. Place parchment paper or wax paper on top and roll out until about 1/4th inch thick. Cut out with a 4-inch biscuit cutter. Cut out shell shapes on the top of the rounds and place on top of the dough balls pressing down on the sides.
Bake in the oven for 18-20 minutes or until an internal thermometer reaches 190 degrees.

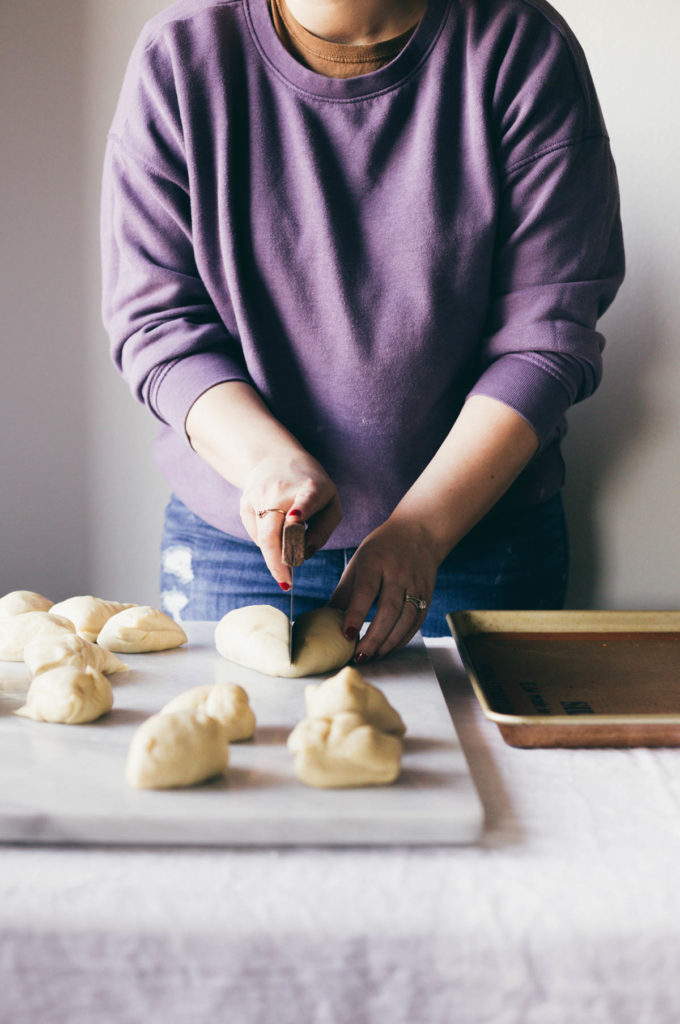
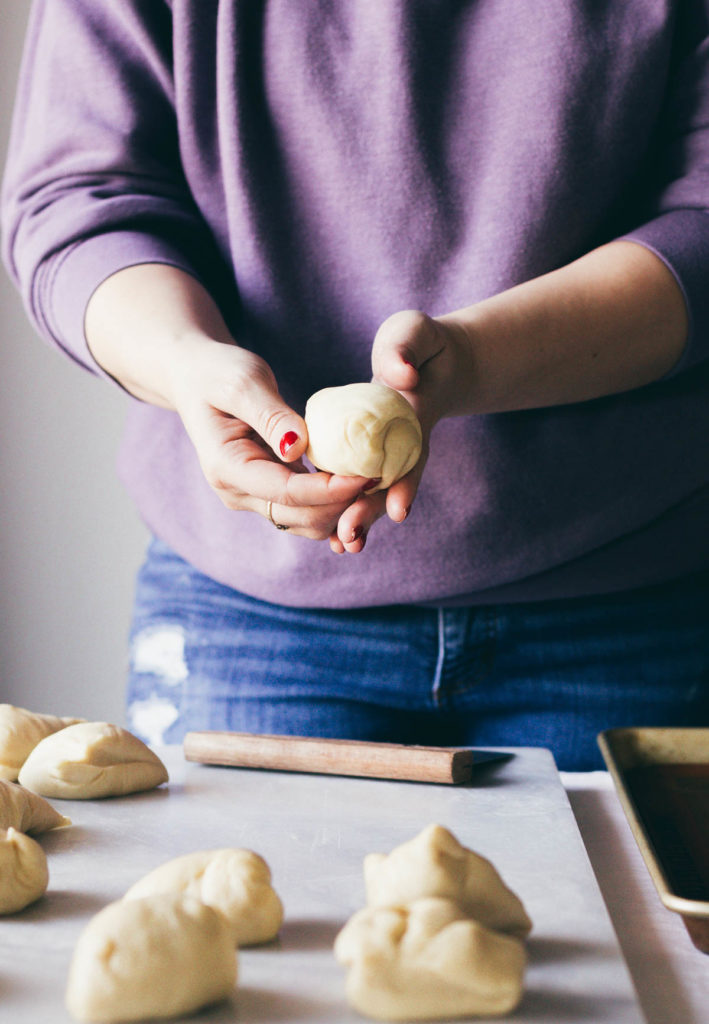
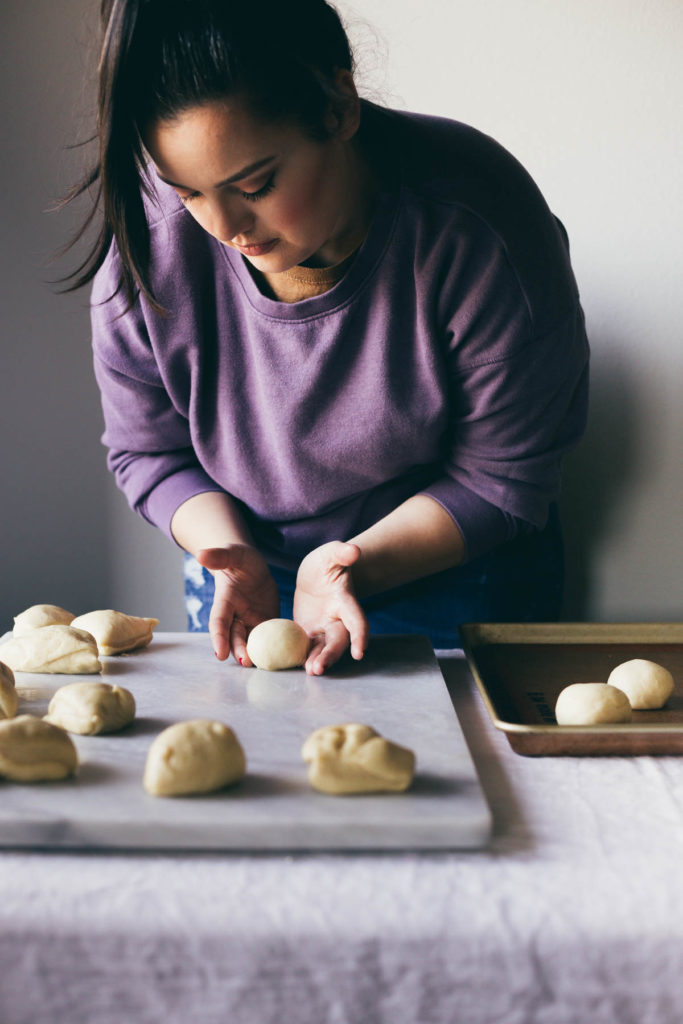
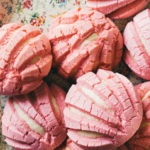

These came out so dense and lovely, my kids couldn’t get enough! Now I had a little extra of the topping left over, any suggestions on what to do with it?
So so SOOO happy to hear this, Amanda! Definitely! Put some of those Roll them in a golf ball shape, roll that into those small ball sprinkles, flatten them and bake them at 350 until done… just like Mexican cookies!
Made your conchas for the first time, flavor is amazing! I was so proud of myself & following your recipe made it easy for me to make. But they came out so puffy? Light & airy (again they taste great) but they don’t look like a regular concha? I’ll be making them again.
Amazing! Yes yes, they aren’t going to be like the traditional bakery conchas. Thanks for making them!
You really live up to the “artisan” title. Lovely styling and skill, Karlee
You’re the sweetest!!!!!!!!
What is ap flour?
Hey! It’s for All-Purpose Flour. The most common type of flour 🙂
Is there no second rise after forming the balls? Or is it that making the topping after forming the balls allows enough time for them to expand? Just wondering because i have a tendency to move on in the recipe before told to, for example i might get ahead of myself and make the topping during the first rise and i don’t want to put the topping on prematurely
Hey Kate! correct, the second rise happens during the cookie topping making process (allowing about 30 – 45 minutes)… You can make the cookie topping ahead but in my experience, it becomes harder to work with after which is why I put it in that order. Hope that helps!
Thanks so much! I’ll be making these tomorrow
How long do these stay fresh? They look fantastic and want to make these.
Thanks
They stay for up to 3 days! Longer if you microwave them before eating!
Going to try these this weekend! I am thinking about adding a bit of cinnamon, have you ever done this?
Erika! Sorry I missed this! I hope you still made them! I haven’t but A Cozy Kitchen uses cinnamon in her recipe and it sounds amazing!
These will forever be one of my favorite things! Love this recipe so much and very easy to follow for a concha-newbie. Making them for I think the 3rd or 4th time this weekend!
So cute, Kathleen! I cannot wait for the weather to cool so i can make them again myself 🙂
Can’ you store the left over topping?
Absolutely! cover in plastic wrap – keeps in the fridge for 2 days. (I make cookies with it)
Which bakery in San Jose changed your mind?
Oh man! I can’t remember… It might even just be called Pandaria? I just remember it’s on the east side close to an elementary school next to a marcado 🙂 man! I wish i could think of it!
Pink elephant
Thanks for sharing! I, too, found cochas dry when I was a kid.
I’m wondering if I can use your recipe for pink cuernos (my favorite!!). If yes, I’ll try a gluten free all purpose flour because I have celiac and haven’t had pan dulce in over 15 years. I’ve waited long enough!
When you’re assembling the topping, you’re making the marks BEFORE putting them on top, right? It seems so much easier than a concha stamp.
i was so nervous to try making concha’s but I made these today and they came out amazing!!!
Hi just wondering can i leave the dough to ferment over night in the fridge or do i have to make it the same day? also after making the balls can i also leave though over night in the fridge to proof? that way i can bake in the morning.
Hi just wondering can i leave the dough to ferment over night in the fridge or do i have to make it the same day? also after making the balls can i also leave though over night in the fridge to proof? that way i can bake in the morning.
It was tasteless
Pingback: Our Best Mexican Bread Recipes – thehappy-chef.com